I purchased the "EZ Patterns" complete set back in 2007 off E-bay
when you could instantly download patterns off the site.
I had only made a jumper from the pattern set and forgot about
them until I was looking to sew a pair of pants for the
Halloween top I had made my 2 year old niece.
Since it had been a while since my last project with these
patterns, I thought I would document the process as I went along
and give my review of the e-pattern.
I am making a size 2 pair of pants.
Here goes:
(Click on the pictures to enlarge.)
(Click on the pictures to enlarge.)
The pattern, if that is what you want to call it, consisted of well written
instructions and a crotch template that you print out.
The instructions tell you to cut two pieces of material
19.5 x 21.75 inches for the size 2.
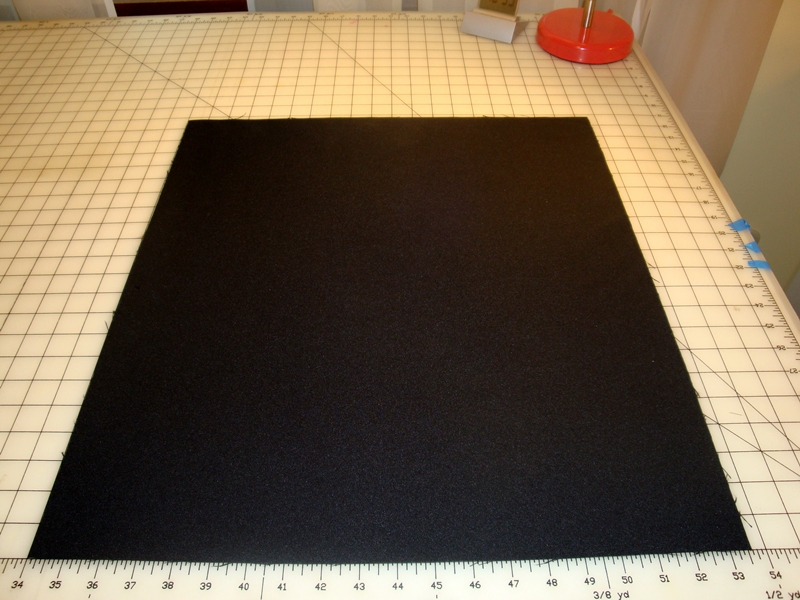
Then you fold that rectangle in half, long edges together.

Take the crotch template and place it along the long cut
edges and the top of your rectangle, like so.
Note: I turned my rectangle of fabric so that it was
easier to work with.

Then cut around the template.
When finished, this is what it looked like.

Next you will do the same steps for the other rectangle of fabric.
When done, you unfold the pieces and place them
right sides together and pin, like pictured below.

This pattern called for 1/2 inch seam allowances.
I sewed the two pinned areas together as directed.

The pattern said to sew reinforcement stitches along
the curved crotch area and then clip to 1/8 inch.
I chose to clip my entire seam to 1/4 inch and overcast
the entire length on my sewing machine.

After this the instructions said to open out the pant legs and sew from the bottom
of one leg, up and around the crotch and down the other leg. Again, I trimmed
the seam and overcast it although the instructions did not say to do so.

The casing for the elastic waist was next.
I folded up and pressed 1/4 inch. When finished, I folded up another
3/4 inch and stitched close to the folded edge. I left about 1 1/2 inches unstitched
so that I could insert the elastic.

At this point I clipped a safety pin to the end
of the elastic and threaded it through the casing. I overlapped the ends
by 1/2 an inch and stitched them together.


To finish off the waist, I stitched the opening that I used to insert the elastic closed.

To finish up, I hemmed the pants, first folding under 1/4 inch on each leg and pressing with the iron.
Then I folded up another 1/2 inch, pressed and
stitched close to the folded, pressed edge.
That completed the pants!

As you can tell from the picture above, the legs on these pants are enormous!
They are as big around as the waist is.
All in all, I would say that the instructions to the EZ Patterns pants
were very well written but the finished product just doesn't cut it.
Maybe if you were looking for the boutique style wide legs
they would work but I still think they are huge for that style also.

I didn't want to trash pile them after all that work so I decided to add a full
ruffle to the bottom of the legs. My hope was to make them look like boutique pants.
(You know this is going to end badly, don't you!? Just admit it!)
I didn't want a lot of bulk around the legs so I decided one ruffle would do.
I wanted to incorporate the lime green and orange from the top so I banded
the main fabric with those colors.
First I cut two strips of the main fabric and two strips of orange at 4 inches.
I cut the length of the strip at 19 inches which was double the circumference of
the pant legs plus 1/2 inch seam allowances.
For the lime green I used the same bias tape I used in the top.

I folded the orange fabric in half (one on the left) and pressed.
I then folded each edge to the inside center fold and pressed again.
This created a band that was 1 inch wide.

Stitched the lime green bias tape on the top edge of my main fabric
and the orange binding at the bottom edge.
I then sewed the short ends together with a 1/2 inch seam.

As I had already sewn the seams of the pants shut and overcast them,
I had to come up with another way to attach the ruffles.
What I did was take elastic and cut it to the circumference of the pant leg
and sewed it into a circle. I divided the elastic and fabric strip into
fourths and pinned them together at the marks.

Lining up the elastic band 1 inch beneath the lime green bias tape,
I zigzag stitched the the elastic to the fabric while pulling it taught to fit the
circumference of the fabric. I didn't want to stitch the elasticized ruffle to
the pants itself (in case I didn't like them on there)
so I used 8 safety pins to temporarily hold it in place.
This was the finished result!
Enormous pant legs with clown like ruffles!

I will remove the ruffle and these can be play pants for around the house
or maybe even pajama bottoms!
I will rework these pants to see if I can taper
the legs in to a decent size. I do like the roominess in the
seat area though as my niece is still in diapers.

Well, back to the sewing room!
Until next time,