Friday, November 23, 2012

Santa Tea Light Ornament

I had such fun making the Rudolph tea light ornament yesterday
that I thought a Santa would be cute too.
 
This was my first go at making a file from scratch with Inkscape and
then transfering it into the Make The Cut software.


I don't know if you can tell in my crappy pictures how cute this little guy is!
This was my prototype and to my surprise it all fit together
perfectly the first time.
 
 
I embossed the beard, mustache, hat brim and hat pom and
shimmer misted them to give the ornament some sparkle.
 

Again, I cut the tip of the tea light "flame" off and colored it
with a red Sharpie marker.  When it was all put together I
decided to rub a little blush under his eyes with a Q-tip.
If your going to try the blush, I suggest you test it on a
scrap piece of cardstock first as you only need the tiniest
amount.
 
At this point I should have left him alone as he was just
as sweet as could be but, I decided to add more
dimension with a Pearl Pen to the hat and pom. 
As soon as I started I knew it was a mistake!
It distracted from the embossing and Shimmer Mist and spread out to much. 
Then to top it off, I set it to my side to dry and ended up sticking my
elbow in it and messed it up totally.
 
I will deconstruct this one and start over but I wanted to get the file
uploaded so that you can make your own without waiting for me
to do so.  Christmas is fast approaching and I know everyone
is eager to make their projects now.
 
You can download the MTC file here:


Until next time, 

Wednesday, November 21, 2012

Rudloph Tea Light Ornament

Over on the Make The Cut forum, someone posted a link to the cutest Rudolph Ornament
that used a tea light to make the nose light up.
I thought the idea was so clever.
I got to thinking that it would be cute just as a Rudolph face too so I got busy
and designed my own.


I really like the way it came out.
 
I used Make The Cut software to design the ornament.
As I can not draw worth a lick, I only used shapes from within the software
and then some node editing to make the file.
 
Here is a picture with the lights off and his nose lit up.
 
 
If you would like to make your own, here is the MTC file.
 
Full project instructions and details included in the MTC file.
 
If you have any questions just leave a comment and I will get back to you.


Until next time, 

Tuesday, February 14, 2012

Sweet Valentine's

Hope you all are having a super sweet Valentine's Day!

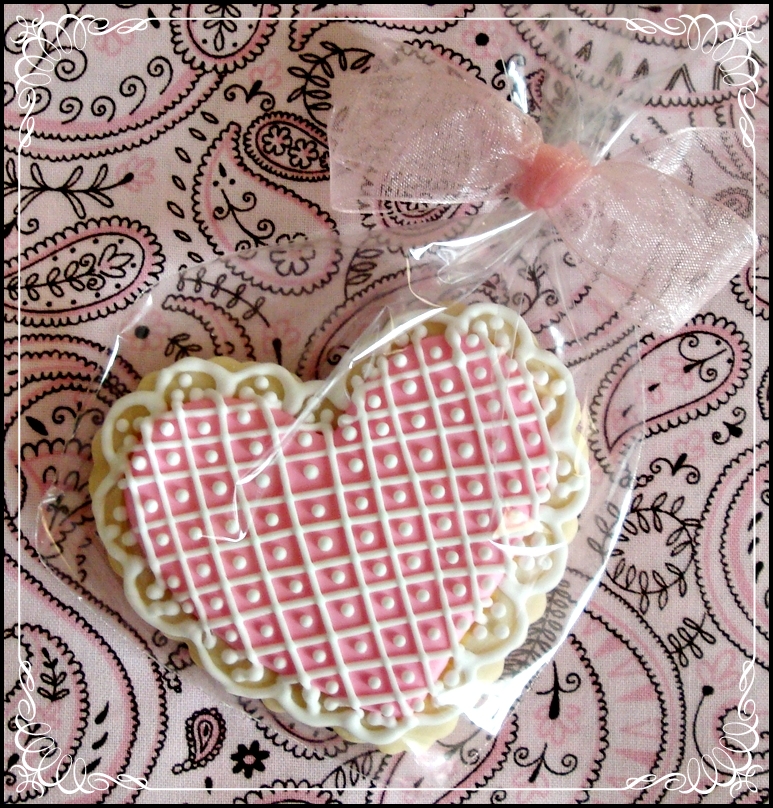
These are some of the cookies I made for my co-workers
as I will be spending much of the day with them.


I have decided I NEED the small PME tips.
Although my cookies look okay I really need the
smaller tips to get the fine details to really look crisp.
On these cookies I used the Wilton #1 tip.


Until next time, 

Sunday, January 22, 2012

Brush Embroidery Cookies

Today I tried my hand at brush embroidery cookies.

I was so excited to try this technique.
Unfortunately, nothing went right with them from the very beginning.
Every step of the way, something went wrong.
I thought for sure these cookies would only be seen
by the immediate family.

In the end, I think this technique hid a multitude of sins
and didn't turn out to badly.


I will try it again in the near future.
Next time I am sure they will turn out better now that I
have had some practice.


Until next time, 

Thursday, January 19, 2012

Happy National Popcorn Day!


What!?
You didn't know it was National Popcorn Day?
Do you live in a cave?
I thought everyone knew that January 19th was National Popcorn Day.


Okay, I didn't know today was National Popcorn Day either
until I did some digging.
I suppose an explanation is in order so here goes!
I have this friend, Tammy, (she's weird but a friend none the less) that
came into work last Friday (Jan. 13th) and announced
that she was so excited that it was Adverb Day.
What? Are you kidding me! A day just for adverbs!
Well, I figured I will show her I can be just as weird as she is.

Because of the way our days off fall during the week, I haven't
seen her since "Adverb Day" and today will be the first
day we work together again.
I did some research and although I couldn't find anything as unusual
as Adverb Day, I did find that January 19 is
National Popcorn Day.
I have asked everyone at work to wish her a
"Happy National Popcorn Day" when they cross paths.
I also made this little bouquet and filled it with some royal icing
popcorn cookies I made, some microwave popcorn,
some yellow crinkle paper and some balloons on sticks
to commemorate the occasion.


The cookies were made quickly so they are not my best work
but I think they still turned out cute.

So, Tammy, HAPPY NATIONAL POPCORN DAY!
Hope it's a great one!


Until next time, 

Sunday, November 6, 2011

More Homemade Cookie Cutters

So, I was cleaning up my craft room after making my homemade 
cookie cutter I posted about previously and had a lot of the
aluminum pan I used left over.

 I didn't want to throw it away so I bit the bullet and decided to make 
as many cutters as I could from what was left of the pan.

My niece is expecting her first baby around Thanksgiving so
I made some cutters the shapes of baby items.


Now, I know you can buy cutters in shapes like these but
I was able to choose my own graphics and customize
the cutters to what I wanted rather than what you
get in the standard package of baby shapes.

I was also able to make them the exact size I wanted too.
The bottle cutter is 2.5 inches wide at the bottom and
a whopping 4.75 inches tall!

I made the bottle cutter a little bigger than the other
ones as I wanted to be able to have a nice
big surface to write the baby's name and birth
information on.


The more cookie cutters I made, the faster I got at it! 
I must also confess that making these has become a little addicting!

It's quite fun to watch the cutters taking shape and trying to find items 
to shape the aluminum around to get the proper curves, etc.

Here are a few more pictures of the individual cutters I made.
(The bib cutter is  turned upside down so you see the wrapped edge of the aluminum.)


The thing is, I still have a lot of aluminum left!
All these cutters and the tutu I made previously came from just
the bottom portion of the pan.  I still have all four of the sides left!

If you would like to see a step by step tutorial on how to make these
homemade cookie cutters yourself, leave me a comment saying so.
I'm not sure anyone even knows my blog exists so I won't waste
my time if I don't get any responses.

Oh, and one more thing!
I was so wrong when I said that it would be expensive to make these.
I was assuming that I was only going to make one cutter out of the pan but, as you
can see, I have made 5 so far and still have enough aluminum left to make
at least 4 or 5 more!

The pan I bought cost me $2.19 (I did spot the same pan elsewhere for $2.00)
and lets assume I get 9-10 homemade cutters out of that one pan,
that is only .21 to .24 cents per cutter!
You don't need to buy any other supplies as the aluminum can be cut easily
with ordinary house scissors (I wouldn't use your good ones).

Has anyone else made their own cookie cutters?
Maybe you have a tip or two you could share!
What worked for you and what didn't?
Would love to hear what you have to say!


Until next time, 

Thursday, November 3, 2011

Homemade Cookie Cutter

I was hooked the minute I saw royal icing cookies I found while blog hopping.
As if I don't have enough hobbies already, now I'm going to add cookie decorating?

Bake at 350 and Sweetopia are two of the sites I adore for instruction and inspiration.
Those are some talented ladies!
They make the most beautiful cookie creations. 

Well, long story short, I got busy and made some of my own.
I purchased the basics (piping tips and bags and some Halloween
cookie cutters) and this is what I ended up with.

Although I have a long way to go before my cookies
look like the ones at Bake at 350 or Sweetopia,
I didn't think they turned out to bad.

I felt like baking today but the only cutters I had were of
the Halloween variety.
No appropriate cutters, itching to bake, what's a woman to do?
Well, if your like me, you make your own!

I had recently seen a post where someone had made cookie cutters and
although I read it, I didn't bookmark it.  I searched but, for the life
of me I couldn't find it anywhere in blogland.

I knew the post said they used aluminum flashing from the 
home improvement store but that was about all I could remember.

I had looked through DH's workshop but couldn't find any flashing.
As he was at work and I was itching to go, I looked around and
found I had some of those disposable aluminum pans on hand.

I printed out a picture of a long tutu that I wanted to use as a template
and went to work on the aluminum pan.
I cut it up, pounded all the little indents out with a rubber hammer, 
folded, twisted, bent, crimped and cursed.
(Don't underestimate the power of a few choice words! I think I ended up
scaring the aluminum into submission!)

After about 30 minutes, this was my finished product.
(The "cutter" side if facing up in this picture.) 

You can see the lip of aluminum I folded over so 
that it wouldn't cut my hand when I pushed on it.

Is it perfect? No. 
Does it work?  Well, you tell me!
Take a look....

Pretty little tutu cookies waiting to be dressed with icing!
I found that the slight imperfections in my cutter (wavy edges)
were almost nonexistent after the cookies were baked. 

Am I going to make all my cookie cutters?  No sirree, Bob.
Getting both sides to be symmetrical was not an easy task. 

Cutters are so inexpensive (well, at least the ones I will be buying)
that it doesn't make sense to make all your own cutters as
the aluminum pans aren't cheap themselves.
If I need a cutter I can't find out locally or need a special
design that isn't available already, I will certainly give it another go.


Until next time, 

Wednesday, October 19, 2011

Dress Form Pin Cushion

Isn't this just too cute?
I came across the instruction for this dress form pin cushion
and just had to make on for myself.


I had the whole pin cushion made in under an hour.
That included the time it took to download the pattern and cut it out.

The base is a candlestick holder from the dollar store.

The instructions called to put a mini Christmas ornament in the
opening at the top but I didn't have any of those (come on it's
October for crying out loud) so I improvised.


I used a thimble to finished it off!
I didn't glue it on so that I would still be able to use it if needed.

I added some lace trim at the bottom to soften the hard line
of the form.

The instructions also included directions to make a fabric flower
to place on the shoulder/chest area but I must be a rebel and
decided to use something I already had made up.
Paper flowers that I had made for card making!
This picture shows the truest colors of my material.
It is very soft and muted.
I had a heck of a time taking the pictures today as it has
been raining all day and it is very dark.

Of course, one flower is never enough so I just kept adding more.

 I made these flowers with quilting pins for bases.
Each flower is an individual pin that can be removed and rearranged or 
taken off completely if I decide I want a different look to
the dress form.

The dress form and flowers look so much better in person.
I just couldn't get the colors correct in my photo software
when I tried to brighten them up.

Should you want to make one of your own, check out
The DIY Dish.

The girls have a fantastic video tutorial along with the downloadable
pattern and instructions.
Here is the direct link:

Until next time, 

Sunday, October 16, 2011

Like I need a new hobby!

Many years ago, I bought a couple needle tatting books and needles.
When I say many, I mean like 11-15 years.
Well, I read the books and practiced a little but put the
supplies away and never looked at them again until about
3 days ago.

Don't know what I saw that reminded me I had those supplies
put away but I dug them out and thought of all the pretty
trim I could be tatting for some of the clothing
I have been making for my nieces.

I sat down and got to work on a lace collar edging.
(You can just go ahead and ignore that pilled up blanket!)


It amazes me what you can make with just a needle and thread!
Ain't it purdy?


Now it's not perfect by any means but, I think for my very
first tatting project, it's not too bad.


This is the finished product.


It took me two days to finish this piece.

I still need to read up on how to starch it or iron it or whatever
it is I need to do to make it all nice and crisp.

I am going to put this on a top I already have planned out to make but
I would also like to make the girls holiday dresses that incorporate
some tatting.  
Let's see what I can come up with!


Until next time, 

Thursday, October 13, 2011

First Peasant Top

I've have admired all the peasant tops I have seen on other's blogs and 
thought it was high time I made on myself.  

I wanted a top to match the orange pants
I blogged about a week or so ago.

This was the only fabric I had on hand that matched
the pants material perfectly.


I wanted to make the top with long sleeves but
unfortunately only had enough fabric to
make this length sleeve.

Still need to hem the pants but, pair this up with
a white turtleneck and a pair of black mary jane's
and I think it will look cute on
one of the girls!


Until next time,